

Preparing a Post for a Client and Sending It for Approval
Updated: October 14, 2026 · 2 min read
As an agency you prepare the post, the client approves it, and IZY publishes it on time. This page covers the first two steps.
1. Pick the client
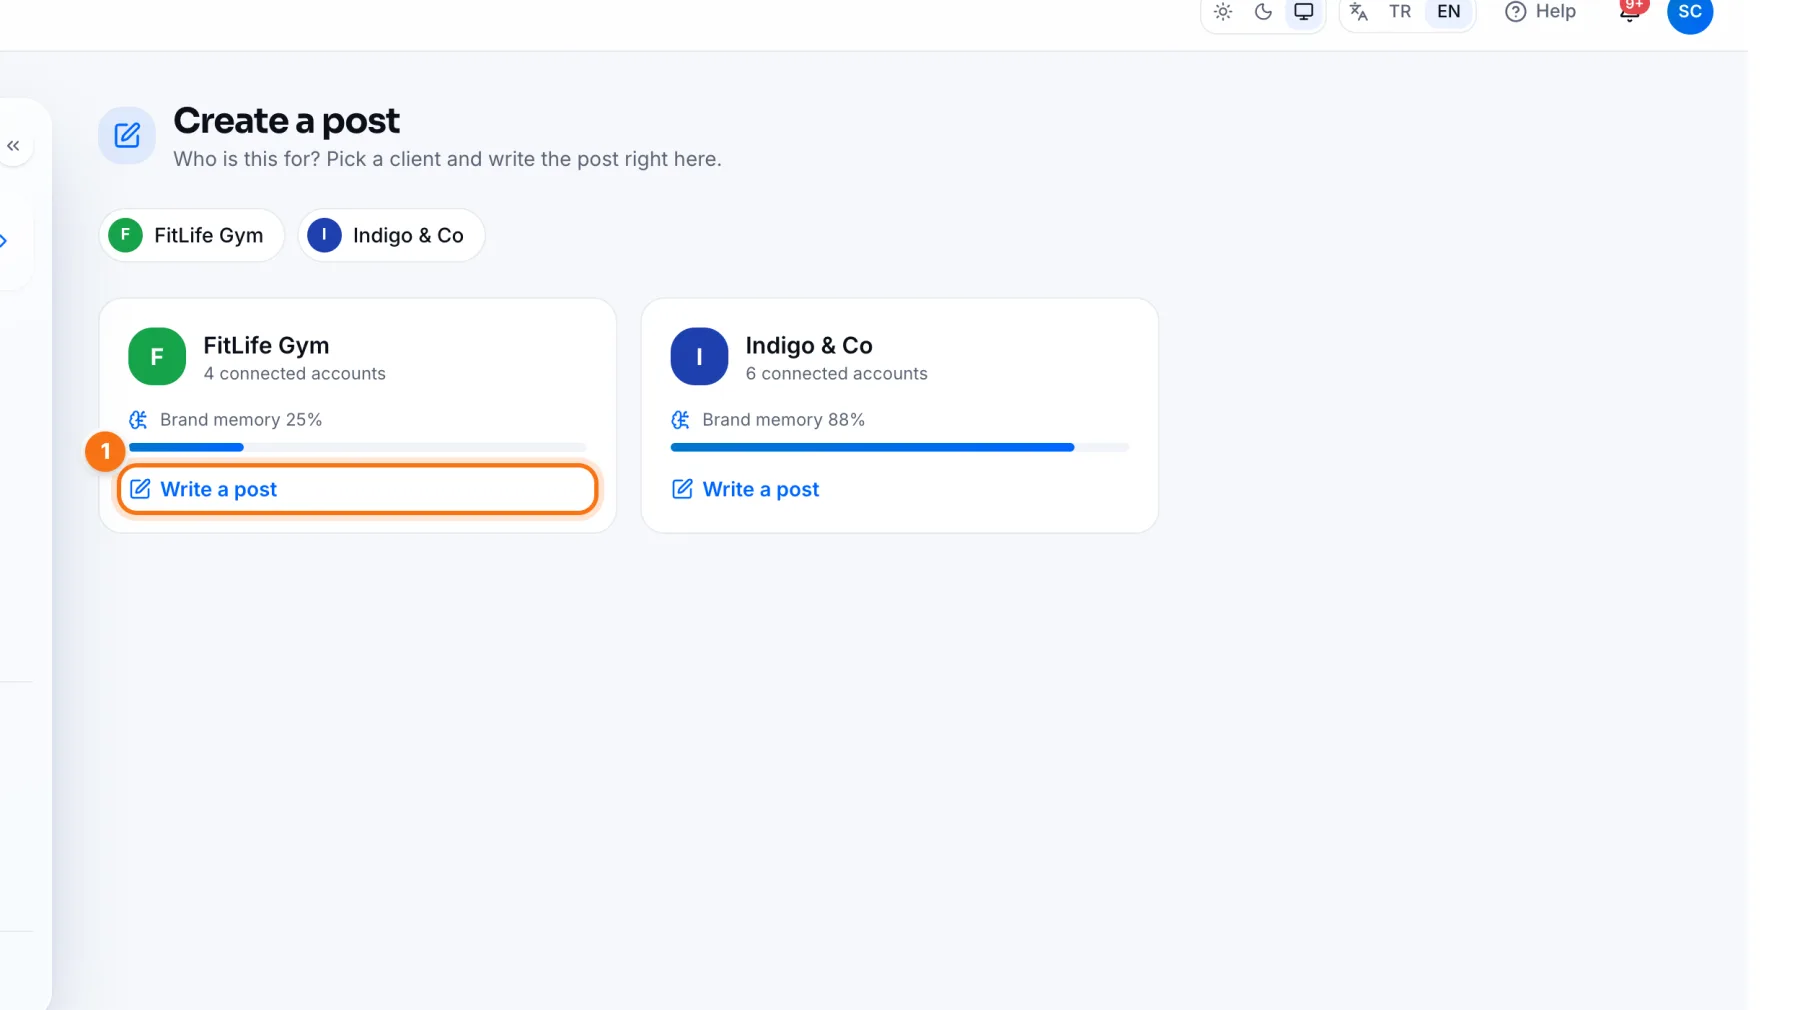
- 1Write a post: press it on the card of the client you're posting for. Each card shows the client's connected accounts and how complete their Brand Memory is.
2. Write the post
The client's Create page opens. Choosing accounts, writing with IZY AI and adding media and covers work as in the business panel: Creating a post.
3. Send for approval or add to the calendar
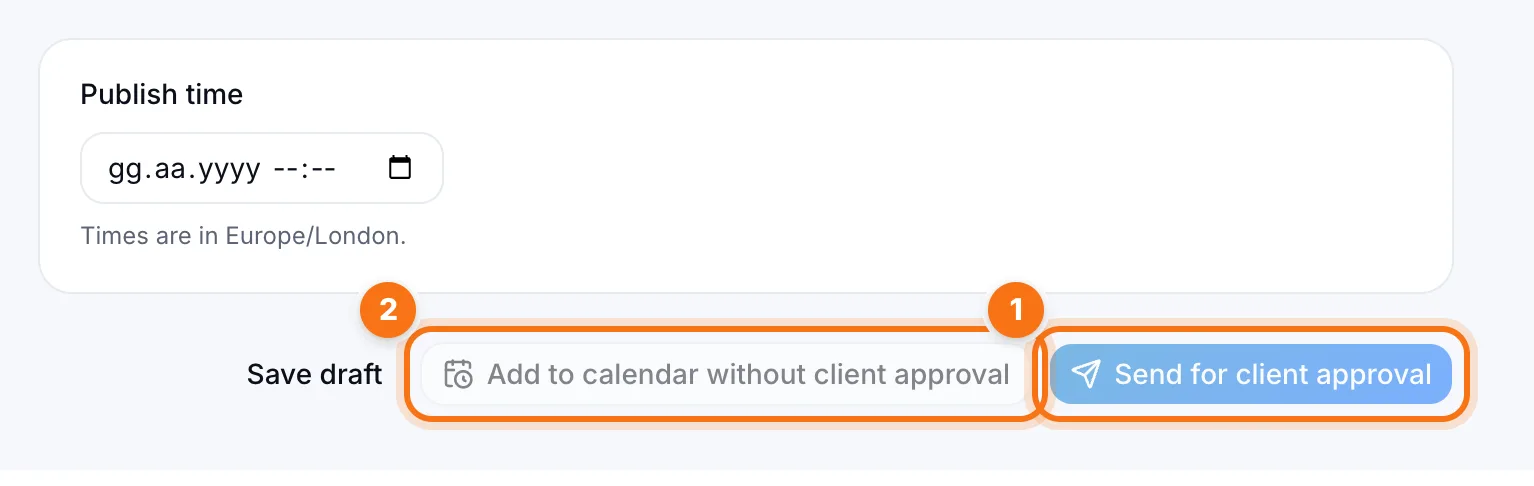
- 1Send for client approval: the post goes to the client for approval. Once approved it's added to the calendar and publishes at the time you picked; if the client asks for changes, it comes back with their note.
- 2Add to calendar without client approval: for work that needs no approval. The post is scheduled directly.
Anyone on the team, editors too, can add a post to the calendar without client approval. A post already waiting for approval can be added from its card on the Client approval page.
Frequently asked questions
Where do I follow approvals?
On the Client approval page, which lists every post waiting for approval or with requested changes.